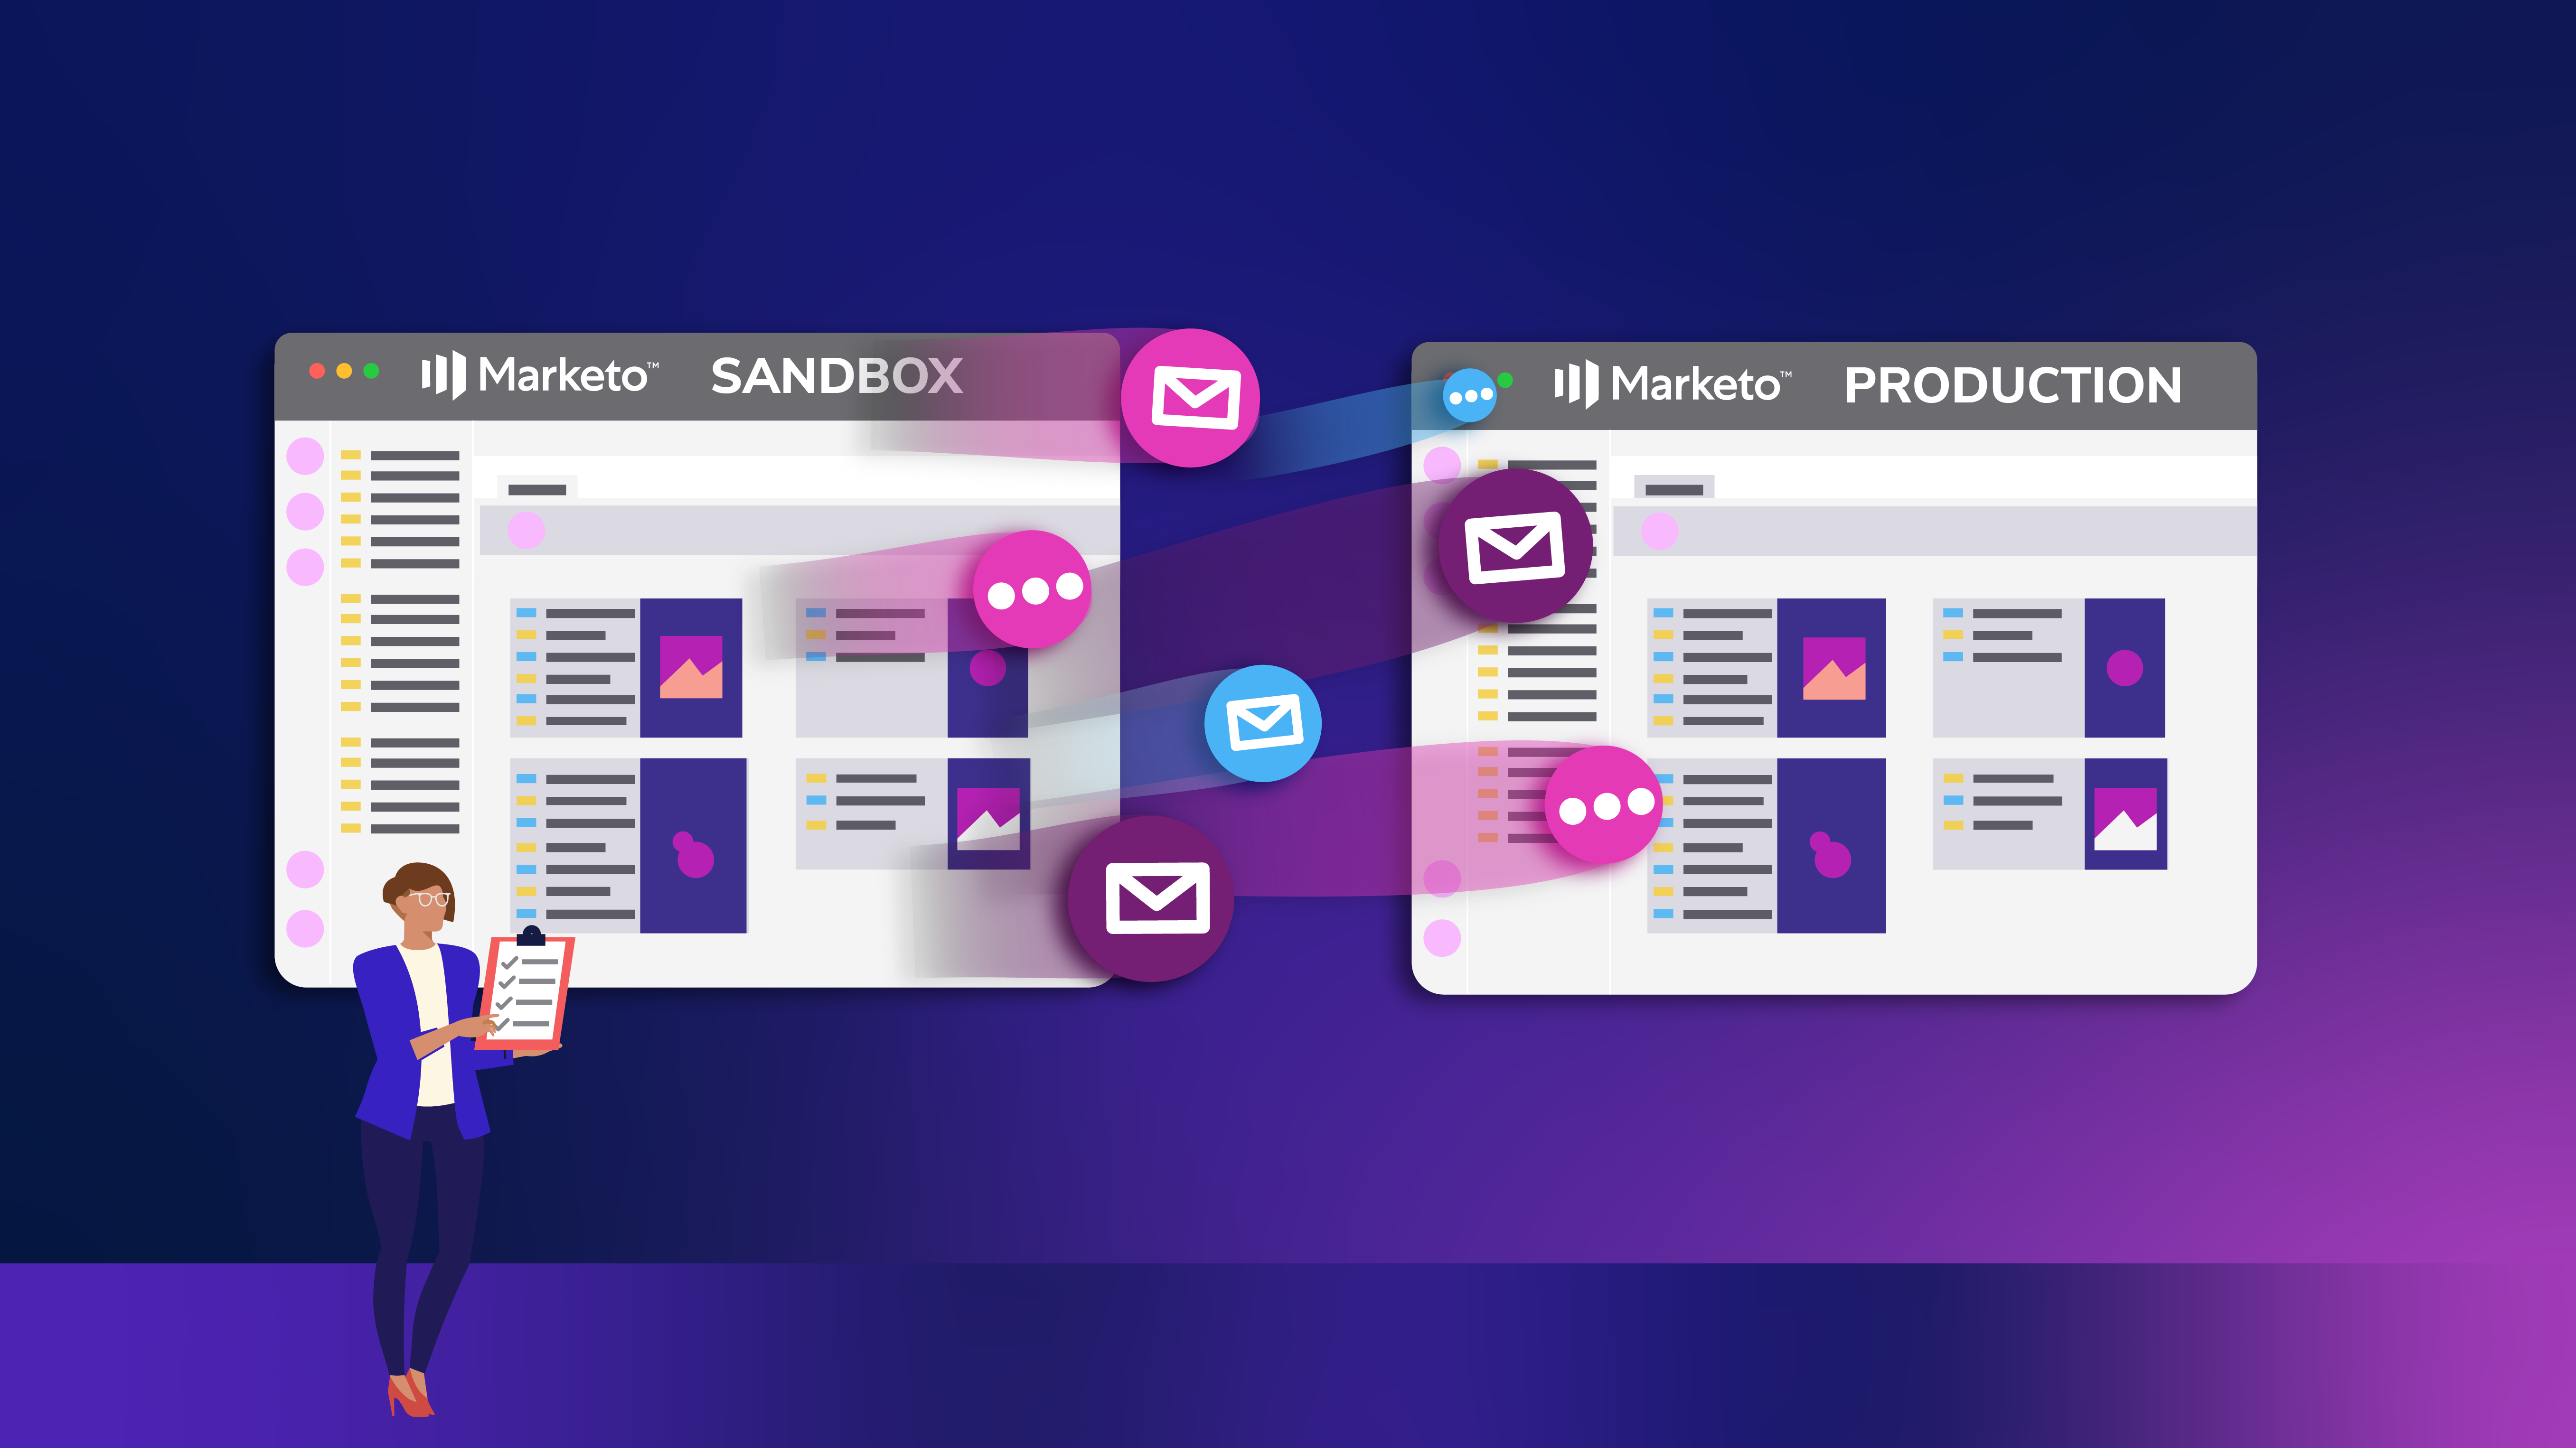
End‑to‑End Testing Across Multiple Adobe Marketo Environments
We all know the importance of facilitating smooth communications with our customers, but how can we ensure we're effectively conducting end-to-end (E2E) testing across our B2B technology stack to make that happen?
There is a lot to think about when setting up and testing a new Marketo environment or campaign. Strategy, requirements, tool configuration, and so on. And once all the configuration work is completed, you have to make sure it functions as envisioned. Following standard development principles and establishing Sandbox and production environments is recommended, but there are quite a few associated Marketo nuances to consider throughout the E2E testing process.
This article will provide step-by-step guidance for E2E testing across multiple Marketo environments to circumvent known nuances and limitations and ensure flawless execution of customer communications.
We’ll mainly address the questions: "What, where, and when should we test?" While answering these questions, we'll also provide tips and tricks for you to watch out for.
Here are the recommended steps to take for Marketo testing:
- Evaluate testing needs.
- Develop a testing plan.
- Validate dependencies.
- Execute tests against the plan in the Sandbox environment.
- Port to Production & conduct smoke tests.
- Complete Production-only testing.
Before we walk through these steps, let's review the importance of testing in the Sandbox environment.
Having a Sandbox environment will allow you to mitigate risk by hooking up and testing all your integrations, custom objects, webhooks, and programs before setting them up in the live production environment. Since that's the case, we recommend doing E2E testing first in the Sandbox, where it is safe and lessens the risks of introducing errors in production data or mistakenly sending communications to millions of users. (insert ghost face emoji)
But let's break these things down further. What are the advantages and disadvantages of testing in the Sandbox environment?
Advantages of Testing in the Sandbox Environment
Emails can't be sent out to more than 25 users. This is good news! If you accidentally have folks in a smart list that shouldn’t be there, this controls the oops factor of an email audience.
The Sandbox environment allows for issue and bug identification before porting over to the Production environment to ensure you have all the correct connections to make each program work.
It also prevents potentially junking up the Production Marketo database with incorrect or test data.
Lastly, the Sandbox environment allows for CRM integration testing to determine any changes to be made to the sync processes. It also will inform how long the full integration will take moving CRM data into the prod environment, which can be a lengthy process and is helpful for planning purposes.
Disadvantages of Testing in the Sandbox Environment
There are certain items, such as CNAME, SPF, and DKIM, that cannot (or should not) be tested until they've been built out in the Production environment.
Porting Programs over and having to rebuild items such as integrations from scratch increases the chance for human error.
To be successful in testing, you need to understand:
- Are we doing the full integration testing or just testing one program?
- What integrations are hooked up to the Marketo environment?
- Lastly, who will be affected by this testing? Do we need to alert anyone or need their help with testing?
We'll cover this and more below. Now, let's get started!
Step One: Evaluate Testing Needs
You may be thinking, ah this is simple, you've already done the hard part, right!? The requirements are nailed down and associated Programs are created. However, this step is crucial. Evaluating testing needs is the first step in defining what will be tested in each Marketo environment. (If you're reading this, we assume your company chose to implement multiple Marketo environments.)
Start by making a list of everything that was configured in each environment. Here is an example list:
- Platform Configuration (settings, user roles, tokens, etc.)
- Data Model/Operational Model (admin settings)
- Lead Scoring Model (one versus multi-model)
- CRM Integration (bi-directional sync, data inconsistencies, and integrity)
- Social Integrations (bi-directional sync, data inconsistencies, and integrity)
- Webinar integrations (bi-directional sync, data inconsistencies, and integrity)
- Marketo Campaigns (webinar, contact us, gated assets)
- Marketo Assets (forms, emails, landing pages)
- Adobe Integrations (Target, Analytics)
Next, inventory each specific item related to the bullets above. For example, under Social integrations, detail Facebook, LinkedIn, or other specific social integrations that were enabled. Under Marketo Campaigns, detail each Program configured within the tool. Work with teammates, as needed, to ensure your E2E testing list is comprehensive.
Once complete, you're ready to move on to Step Two.
Step Two: Develop a Testing Plan
To create a successful testing plan ensure you:
- Organize the testing list (from step one)
- Confirm testers and their familiarity with Marketo
- Create testing scenarios
Organize the Testing List
One thing that may be helpful is to break the list of testing requirements into categories. All this does is help ensure your list is in digestible chunks. Here is an example of how we have broken our testing plan down:
- Operational Programs (i.e., contact us flows, subscription center)
- Marketing Programs (i.e., webinars, live events, etc.)
- Data Flows (i.e., opt-in/out)
- Integrations
Confirm Testers and Their Familiarity With Marketo
Knowing who will be using the testing plan and running the tests is critical. Without this, it will be hard to know how much detail needs to be in the plan. If the tester is comfortable in Marketo then not every step needs to be spelled out. If the tester isn't, then you need to provide more details. Every detail needs to be spelled out so that the tester can clearly see if the scenario was successful or not.
Now that we have that settled, you can start creating the testing scenarios!
Create Testing Scenarios
What do we mean by creating scenarios? These are groups of tasks (or "to-dos") that will put the Program flows and requirements under stress. Note, depending on your testing, there could be several scenarios per Program. For this part, we'll walk you through a webinar Marketo Program Scenario.
When you go to test a webinar sign-up, it's never as simple as filling out the form fields and submitting the sign-up form. There are subsequent automation flows that get triggered once the form is filled out (or not) that will push a user through the journey. When you're creating scenarios, you need to think through the program flow a user can take.
Below we have three different example scenarios for one webinar program. In each scenario, we have detailed out requirements that need to be checked to ensure the flow is functioning properly.
We've placed each scenario in a Google Sheet for easy access. To get started make a copy!
Example Test Scenario One: Webinar Registration Flow One

Example Test Scenario Two: Webinar Registration Flow Two

Example Test Scenario Three: Webinar Registration Flow Three

When creating scenarios, remember to be detailed and clear so that the tester knows his or her "to-dos" when going through each scenario and what the expected outcome is. If it's clear, there should be no question if the scenario passed or failed.
Phew, we're almost there! Just a few more steps to go!
Step Three: Validate Dependencies
At this point, the testing plan should be complete or very close. Pat yourself on the back, that is a large undertaking.
Before you can start testing, you need to ensure two things:
- Activate Assets and Smart Campaigns
- Confirm Timing
Activation
We recommend reviewing each Program asset and smart campaign one by one. For example, under the webinar program, is the webinar form pointing to the correct thank you page? Do your invite emails point to the registration page? Are your smart campaigns activated so your triggers will work? If you don't activate your Programs, they won't work.
Checking these small things before testing will save time when E2E testing starts.
Timing
As you go through your Programs and campaigns one last time jot down how long each program will take from start to finish. Let's take the webinar Program, for example, you have two invites, one confirmation, two reminders, and one follow-up thank you email. You'll send out the invites two weeks before the webinar, reminders will go out three days and three hours before. So you'll need at least two weeks just to test this one scenario. Granted, you won't touch it daily but you still need enough time to see this process through in its entirety.
If you don't have that much time to test, you can shorten those timelines by changing the wait steps but do this cautiously since the more you change to test, the more you have to change back before porting to production. We recommend testing the days as specified in the requirements to be sure the automation works as expected.
Step Four: Execute Tests Against the Plan in the Sandbox
It's here, testing time! This part should be pretty straightforward. You'll work through each Program scenario created and document what happens. Did each step trigger as it was supposed to in the scenario? If not, use this time to document the bugs and work with your teammates to resolve the issues.
Remember, you may have to test the same scenario multiple times until all the bugs are worked out.
The most commonly identified bugs are:
Triggers
- i.e., Not getting a retargeted email as the triggered flow specifies.
Global Campaign Settings
- i.e., Settings controlling how frequently a person can receive a particular campaign or touchpoint.
- Pro tip: If you're using the same email address for the same testing scenarios, change the campaign settings to allow campaign receipt every time. Document what you've changed so that you can change it back before porting it over to Production.
Step Five: Port to Production
Once all the scenarios have passed in the Sandbox, you can start to populate your Production environment.
If you have a CRM connection with Salesforce or no CRM connection at all you can do what is called a "config copy." This means you don’t have to recreate anything when moving over to your Production environment. Marketo has documentation to walk you through this.
If you have a CRM connection with Microsoft Dynamics, you'll have to rebuild some requirements before you can port over your Programs. Priority matters, but Marketo is smart enough to alert you if you're missing something before porting a program over.
Order of Operations:
First, recreate any custom Marketo fields in Production.
Then, migrate assets (forms, emails, landing pages) and programs:
Option 1: Move all global forms, emails, and landing pages from the Design Studio over to a default Marketing program. Then port the default program over to the Production Environment. Doing this allows you to move all global forms at one time. Once in the Production Environment, you can move all the global forms back over to the Design Studio.
Option 2: Move Webinar forms (or any marketing forms) from Design Studio to the Webinar marketing program. This allows you to port over forms and associated smart campaigns in one program. You can leave the form in the program once in the Production environment or move the form back to Design Studio.
Note: When migrating assets from the Sandbox to the Production Environment, assets can't be ported over individually. They have to be a part of a program. Multiple options are available but we've listed the two most common methods above.
Step Six: Conduct Production Only Tests & Smoke Testing
By now, you should have ported all assets, smart campaigns, and programs over to the Production Environment. The next step is testing items in the Production Environment. You'll need to test items that can only be tested in the Production Environment, plus the items that you need to smoke test after porting from Sandbox to Production. Smoke testing is running through a few scenarios you did during E2E, focusing on the ones that are more complex or had bugs during E2E to ensure the fixes to those bugs stuck during porting over to Production.
Production Only Testing
CNAME
To ensure CNAMEs are set up correctly, you'll go to Admin > Landing page. From there you should see CNAME info in the Domain name area.
SPF and DKIM
To ensure SPF and DKIM are set up correctly, you'll go to Admin > Email and ensure it says verified. You should see the Domain and under DKIM status it should say verified.
Smoke Testing
Communication Limits
Review Communication limits. You can find this under Admin > Communication limits.
Post-migration Program Validation
Monitor programs that were migrated to Production. Running a through a few test scenarios that were problems during E2E to confirm emails or bugs are still resolved as they should be. If you do this before completing the CRM sync in the Production enviroment, you're less likely to accidentally send out tests to live leads.
CRM Integration
Confirm CRM integration is functioning as expected. To test this, you should review records to ensure people and account info are tied to contacts. You should also make updates to a test contact in Marketo and watch the updates flow to the CRM side and vice versa.
Go Forth and Test
At this point, you should have a pretty good idea of "What, where, and when should we test?"
Remember, knowing what you need to test will drive where you should test. Knowing who your testers are (and their familiarity with Marketo) will define how long and when testing should take place. Most importantly, remember to be clear and concise during each step in the process.
Good Luck!