Easy Upload For Google Tag Manager's Lookup Table Version 2
In October 2014, the Google Tag Manager team announced a new version of their popular tool, complete with easier workflows, a brighter design, and many other wonderful features. Most things work in a familiar fashion, with a few name changes.
Macros are now called Variables, and the Lookup Table Variable works exactly as we would expect it to. Sadly, there is still no support for CSV upload, so there still exists a need for a tool that people can use to quickly copy and paste from Excel or Google Drive.
I created a clunky workaround for Version 1, and at the request of many, I’ve now created an updated version that works with the new interface. As the GTM team continues to improve the design and functionality of Version 2, this tool could possibly stop working, and could hopefully become unnecessary.
Update September 2016: The sheet was down for a few weeks after GTM launched their new interface, so if your copy of the spreadsheet stopped working, you’ll need to start over with the instructions below! Also, the smart people over at Seer Interactive have put together a different twist on automating this process with their own Lookup Table generator tool. Their tool involves exporting/importing JSON. While Lookup Tables in Google Tag Manager only support exact match types, the Seer tool will allow you to choose other match types and will output either a Custom JavaScript Variable or a Lookup Table based on your selections.
Links
Lookup Table Tool – for GTM Version 2
Lookup Table Tool – for GTM Version 1 | Original Blog Post – for GTM Version 1
Instructions

1. Copy the Spreadsheet to your Drive
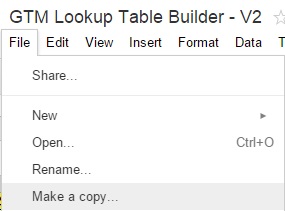
Open up our handy-dandy Lookup Table tool here. The doc is protected, so you won’t be able to make any changes. Never fear, you can either download it as an Excel file or go to File, Make a Copy to save the spreadsheet to your own Google Drive.

2. Fill in the sheet
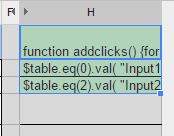
There are instructions on the sheet, but you can either type your table into the spreadsheet, or copy and paste your information from another source (ex. Excel). You’ll notice as you do so that Column H will start filling in with green cells. This is a good thing!

3. Copy the goods
Once you’re finished inputting your data into the spreadsheet, you’ll need to select all of these fancy green cells and copy them.

4. Head over to Google Tag Manager
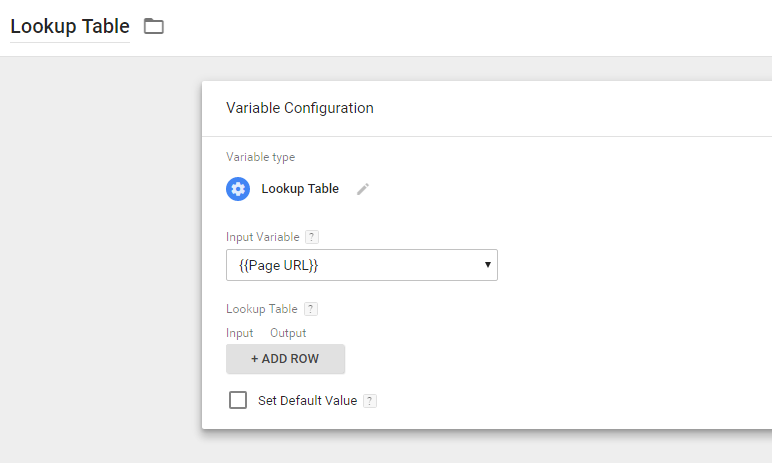
Now head over to GTM, where your shiny new Lookup Table is anxiously awaiting. You want to fill in everything and get to the part as shown below. You don’t need to add any rows, this will do all the work for you. If you have any blank rows, you should remove those.

5. Go into the Console
Hit F12 to open the Developer’s Tools, and find the JavaScript Console. This may vary by browser. In Chrome, you can also hit CTRL+SHIFT+J.
6. Paste in the Cells
Now that you’re in the Console, just hit paste, then execute the Javascript you just pasted in! It may take a second for it all to finish, depending on your browser, how many rows you have, etc…

7. Double check your data
As with any quick fix, you’ll want to double check to make sure it works properly!

And that’s it! Hopefully it works for you and saves you a little bit of time.


