Pushing To The DataLayer Within Custom HTML Tags ‑ Data Layer Best Practices Pt 2

We’ve collected a series of technical best practices designed to help you successfully interoperate with the Google Tag Manager Data Layer. These best practices are designed to help eliminate some of the peskier and harder-to-debug issues we run into when working with clients. This part will discuss pushing to the dataLayer from within Custom HTML Tags.
Referencing the Data Layer Within Custom HTML Tags
When GTM runs an Custom HTML tag, it appends the tags contents to the bottom of the document. This means Custom HTML scripts only run well after GTM is up and running; so you’re safe to reference the global dataLayer without instantiation within these tags.
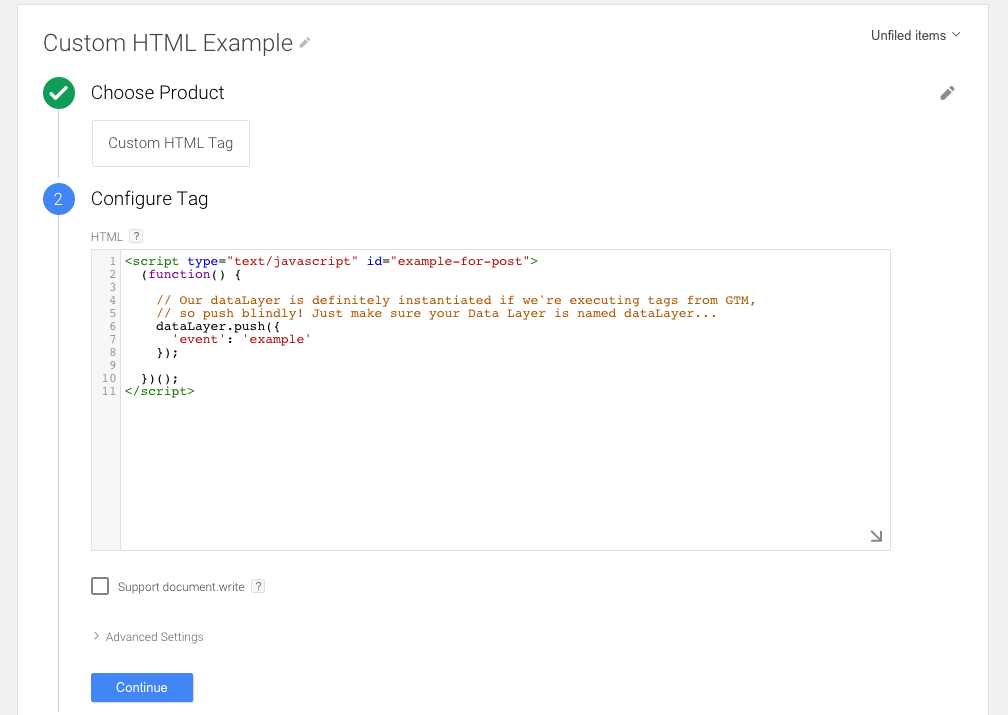
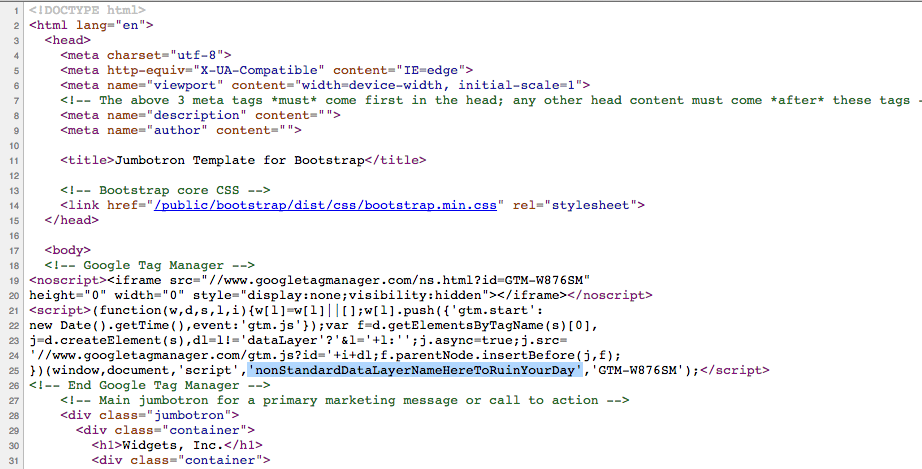
Just remember, the name of the Data Layer is arbitrary; it is dataLayer by default, but it could be customized in your installation. You can check this by inspecting the GTM tag itself. The fourth argument passed to the snippet is always the name of the dataLayer.
Remember that this only applies to dataLayer.push()‘s within Custom HTML Tags. Anytime you’re pushing to the dataLayer outside of Google Tag Manager, be sure to use the syntax we discussed in Part 1 of this series (link below!).
{{HTML ID}}, onHtmlSuccess() and Callbacks
One situation which can present some problems is when you’re interested in firing another tag after your Custom HTML tag has successfully fired. In this instance, your instinct might be to use a dataLayer.push() in your Custom HTML Tag. But what if you need your second tag to fire immediately after the first, before anything else, or you’re unsure when your first tag will return a result, but need the dataLayer‘s state to remain unchanged?
Tricky situations like these require tricky solutions; Google Tag Manager has you covered with {{HTML ID}} and onHtmlSuccess().
Basically, in these situations, instead of pushing to the dataLayer in your code, you’ll want to use the following line instead:
// Some other code
if (codeIsWorking) {
window.google_tag_manager[{{Container ID}}].onHtmlSuccess({{HTML ID}});
} else {
window.google_tag_manager[{{Container ID}}].onHtmlFailure({{HTML ID}});
}
// Or, for a callback-type scenario
var xhr = new XMLHttpRequest();
xhr.onreadystatechange = function() {
if (xhr.readyState === 4) {
doSomethingWithOurResponse(xhr.responseText);
window.google_tag_manager[{{Container ID}}].onHtmlSuccess({{HTML ID}});
}
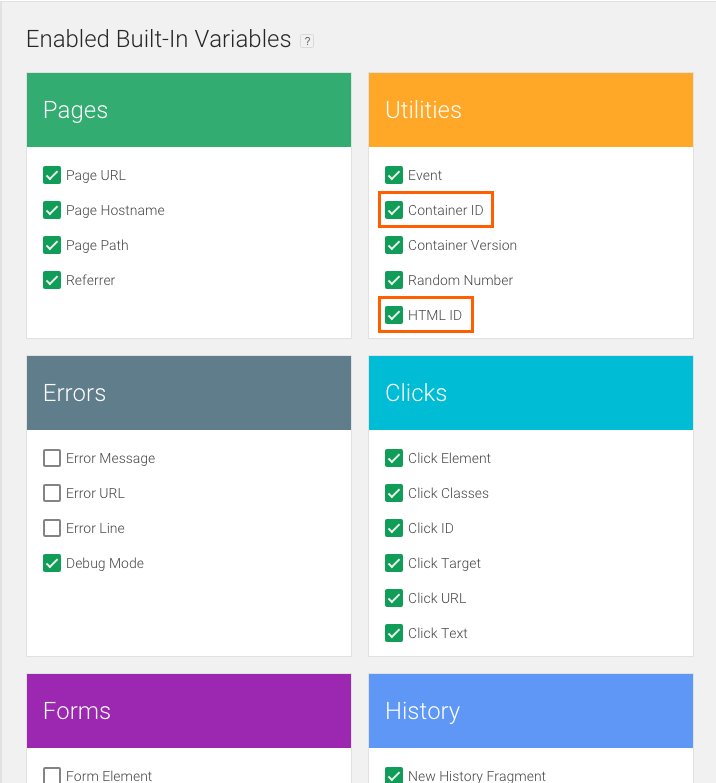
}This function allows you to control when tags in your sequence fire. Note that you’ll have to enable the Built-in Variables Container ID and HTML ID.
For a more in-depth explanation, complete with some helpful visualizations, visit our good friend Simo Ahava’s blog on the subject.
Still with us? Check out Part 3, linked below, where we’ll discuss referencing the dataLayer in Custom JavaScript Variables.
Have you used dataLayer.push() in your Custom HTML Tags? Tell us how in the comments.