How To Natively Integrate AEM 6 With Adobe DTM

A lot of my day to day work is with Adobe Experience Manager (AEM), which is a pretty large and complicated product. As a software developer, one thing that I miss when I’m working with AEM is that the answers I’m looking for are often not Google-able. Maybe I’m spoiled, but I’m used to having solutions spoon-fed to me via Stack Overflow.
I do have the official documentation from Adobe that I can refer to, but it’s pretty dense and I’m more of a visual learner. What I want to do with this guide is create something so basic and simple, anyone could do it (including myself). I love pictures so you’ll see a lot of those here. But don’t just look at the pictures. Some of the (admittedly boring) text of this blog post will contain important information for your integration.
I am by no means an AEM or Adobe DTM (Dynamic Tag Management) expert, so I welcome all feedback on this post. Or, if you just learned something that helped you out, I’d encourage you to share it with your friends/co-workers.
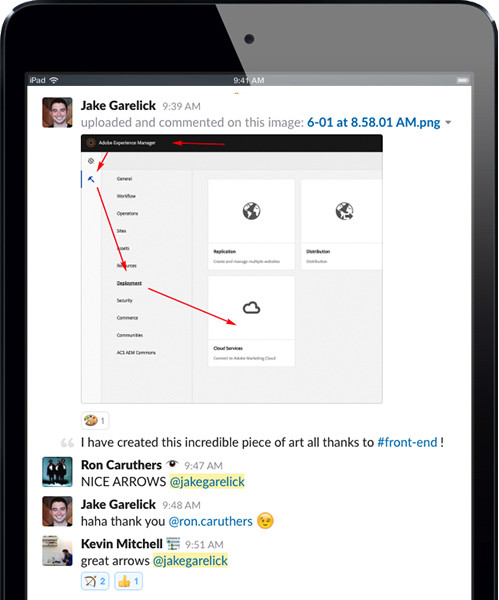
I apologize in advance for my photoshop skills (or lack thereof). You can pretend I recruited some random 10-year-old to help with this article. Fortunately, my co-workers were pretty supportive, as you can see in the image to the right.
One final note: the images do appear small, but if you click them they will appear bigger.
Now let’s get started:
The first thing you’re going to want to do is boot up and visit your AEM Author instance. In my case I’ll be working with my local instance, so the URL will be http://localhost:4502.
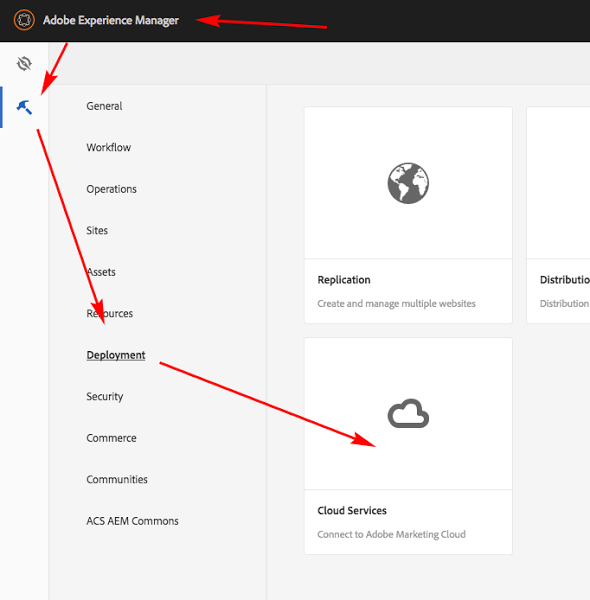
Click Adobe Experience Manager on the navigation bar, then the hammer icon (Tools), then Deployment, and Cloud Services.
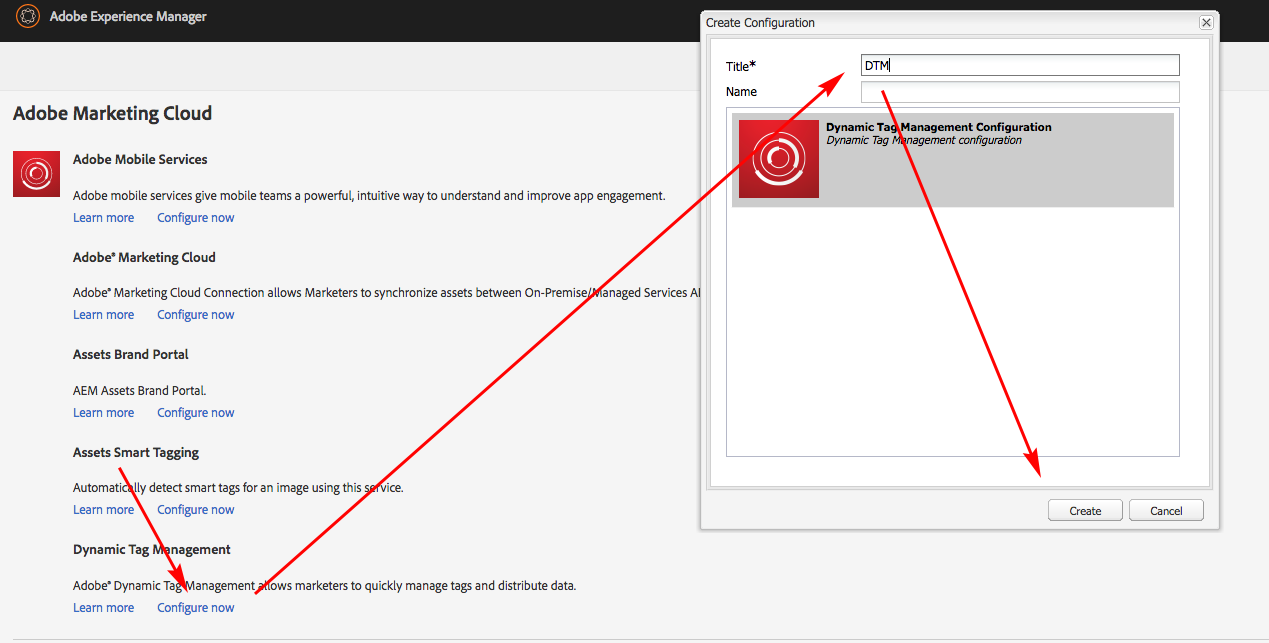
Next you will be brought to the Cloud Services page. Go to the Dynamic Tag Management section, and click Configure Now. A window will open and you will be able to select a title and a name.
Sidenote: In case you’re curious about the difference, the value of the title will be set to the jcr:title property of the cloud service configuration’s jcr:content node and the name will set the name of the cloud service configuration node. If you leave the name blank, the node’s name will just be set to the title, in kebab case (just-like-this). I usually just stick with DTM as the title of my cloud service configuration.
When you’re done, click Create.
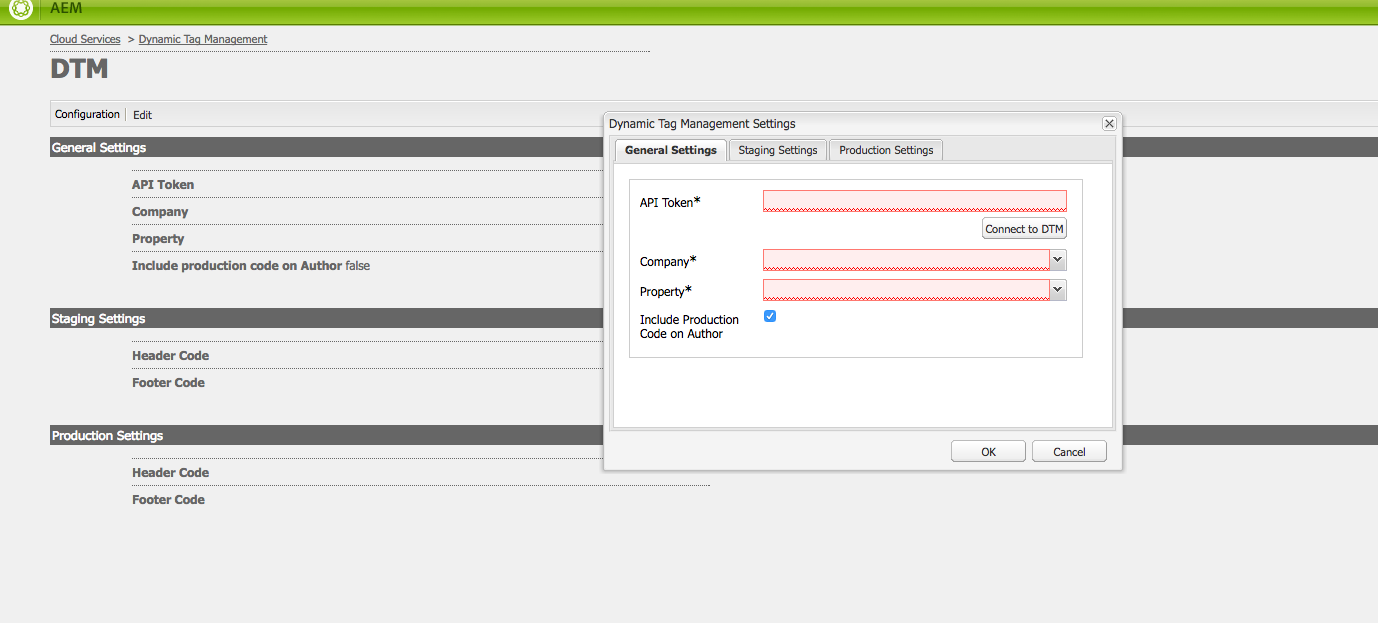
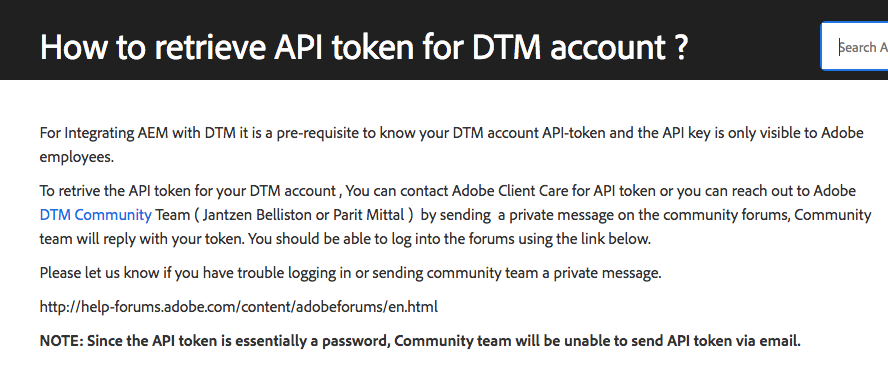
Next you will be directed to a new page in the Classic UI. This is where you will insert your API token you can request from Adobe Client Care. You can view more information on that here, but I also added an image in case the link breaks.
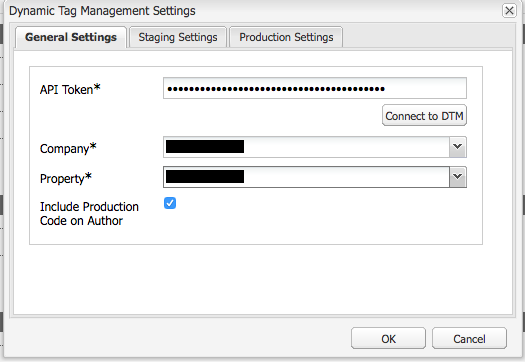
Sidenote: If you’re a consultant working with a client, make sure to use the client’s API token, not yours, otherwise they will have access to every Property that you have access to (not good!).
The Include Production Code on Author checkbox shown in this window is hopefully self-explanatory, it just means that if it is checked, it will load whatever code is located under the Production Settings tab on the author instance. Make sure this is unchecked unless you want to be tracking authors (probably not)
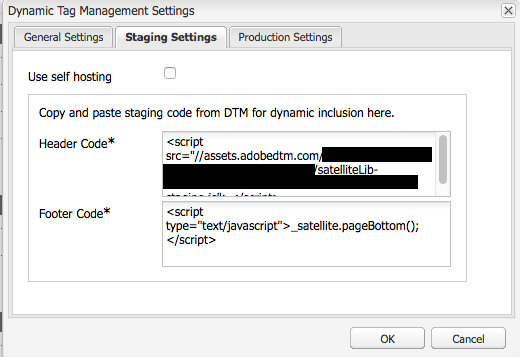
Next, go into the Staging Settings tab and uncheck Use self hosting (unless you actually want to use self hosting, in which case this guide won’t help you). Do the same for Production Settings.
IMPORTANT: If you are adding DTM to a development, staging, or NON-PRODUCTION server, you need to do the following:
- Copy the contents of the Header Code text field under the Staging Settings tab.
- Paste it into the Header Code text field under the Production Settings tab.
This will always load the DTM staging library on non-production servers, which is what you want. Users will be doing testing on the servers, and you DO NOT want development or staging testing information to be sent to a production report suite.
Finally, click OK and the page will refresh with all your updated settings.
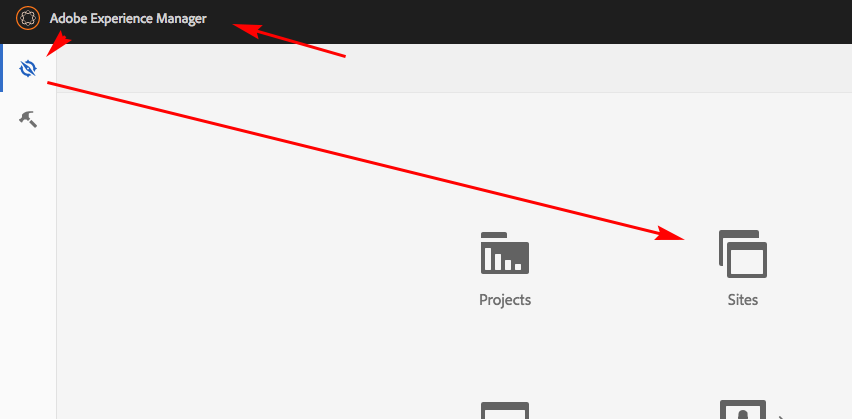
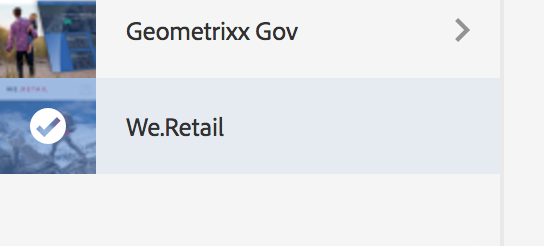
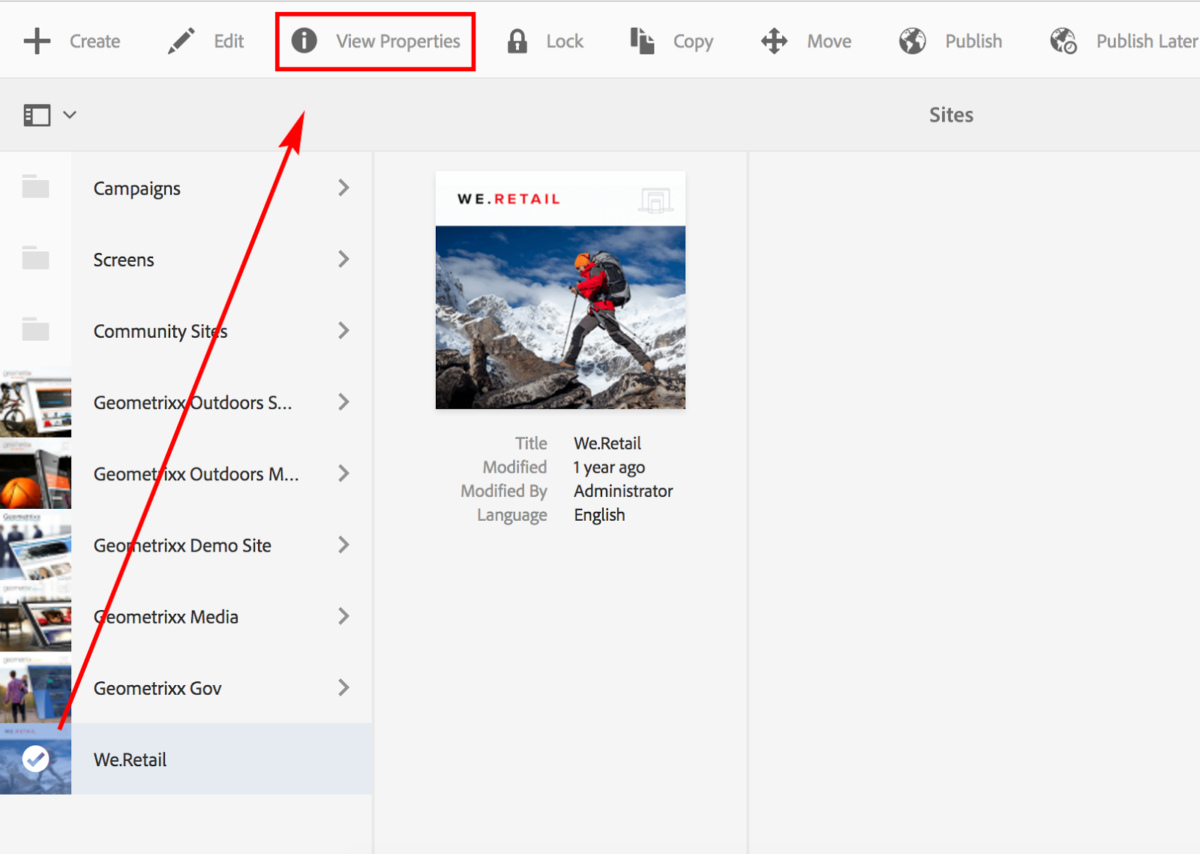
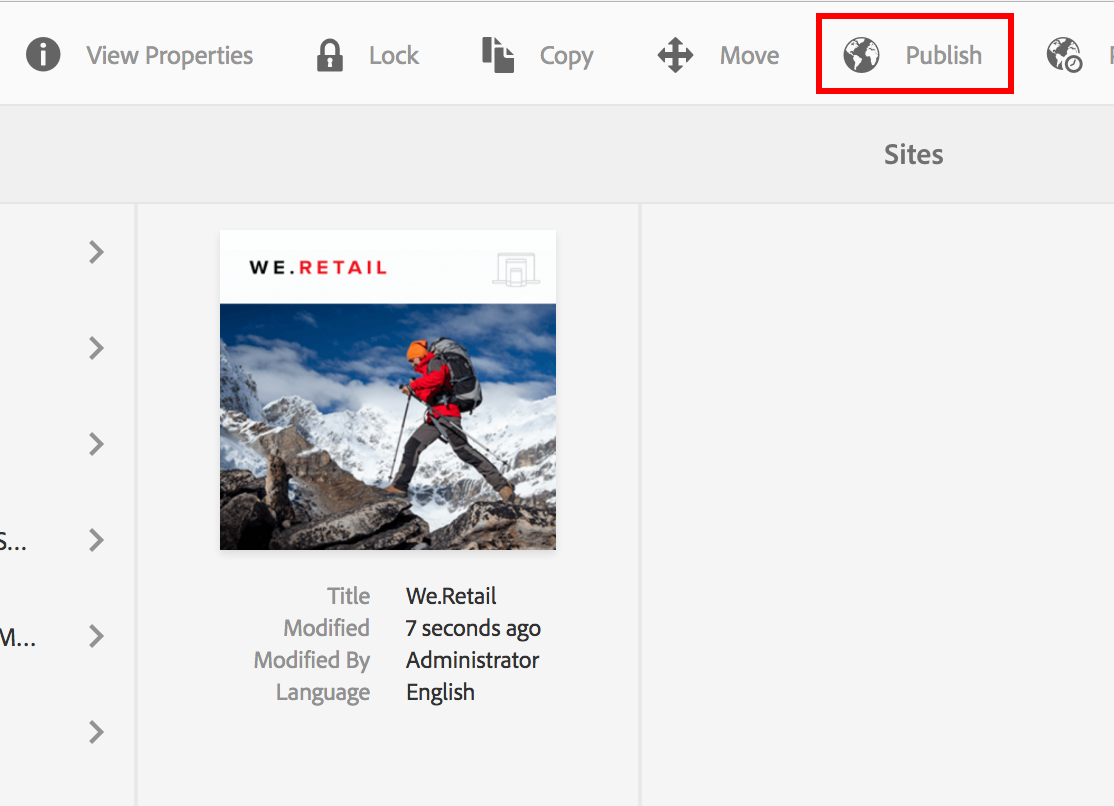
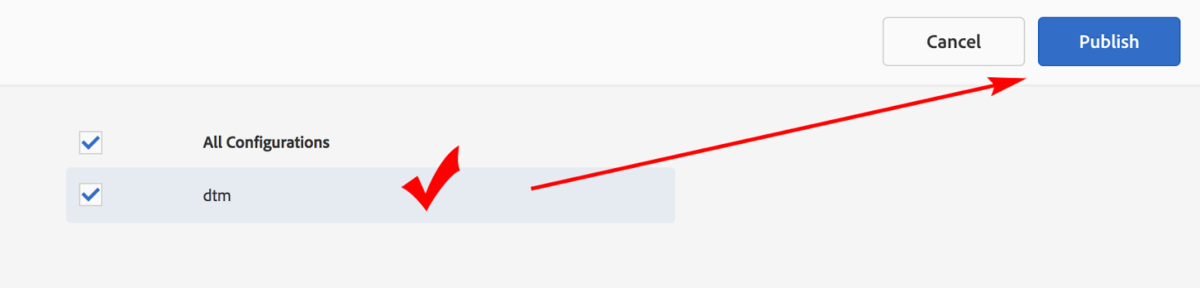
Whew, you’re almost done. Now you just need to add the cloud service configuration to your site’s root page, and then publish it. Go back to the homepage, then click Adobe Experience Manager, then the compass symbol (Navigation), then Sites.
Congratulations! You should now have AEM integrated with Adobe DTM. If you have any further questions, comments, or feedback, feel free to email me (Jake Garelick) at jake.garelick@infielddigital.com.
A big thank you to Rob Catalano and Kevin Haag for editing and polishing this post, and thank you for reading!
News & Insights
Related Perspectives


